|   Home   |   The Studio    |   Studio Stories    |   Pilates Press    |   Health & Wellness    |   Nutrition   |

Sunday, 27 March 2016

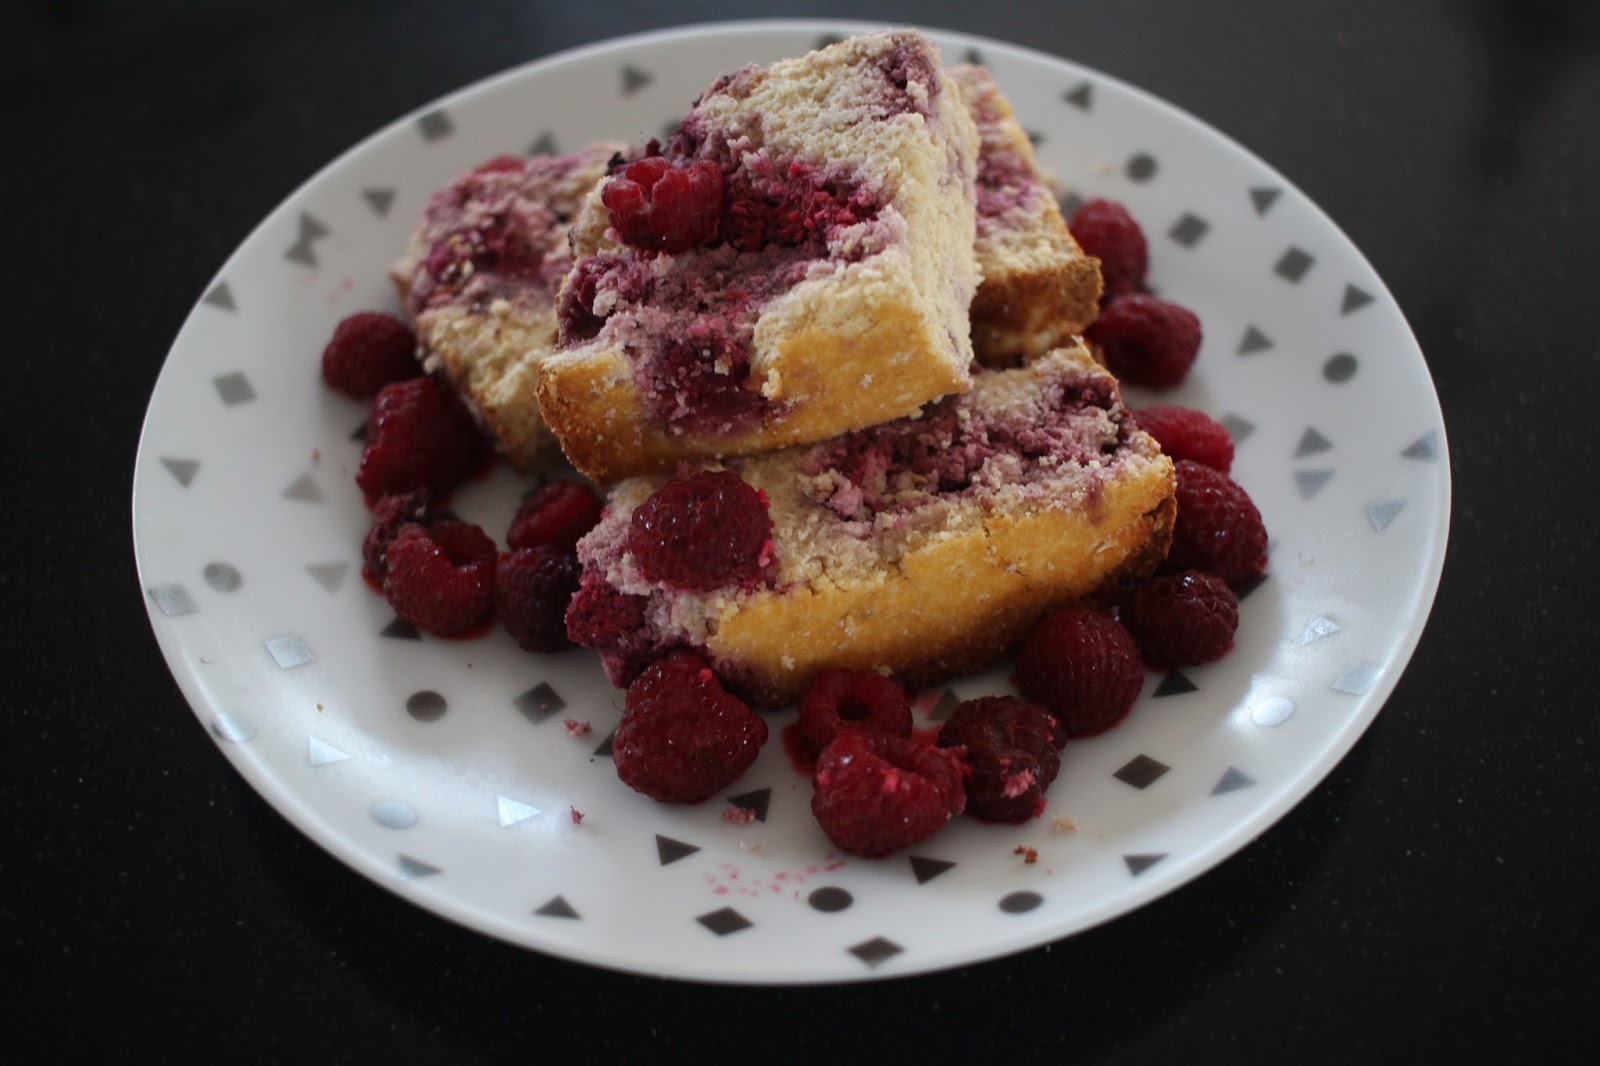
COCONUT & RASPBERRY SQUARES


This delicious yet healthier version of a treat has been adapted from a recipe I found in a rather old edition of a Woolworths Fresh magazine. I have been cleaning out my office and trying to de-clutter my life when I found this gem. I have adapted the original to make my version healthier as well as gluten and dairy free. My only issue with this sweet treat is how incredibly moreish it is!

INGREDIENTS

  • baking paper
  • 1 cup coconut flour
  • 1 teaspoon baking powder (gluten-free if intolerant or allergic)
  • 1/2 cup desiccated coconut
  • the juice and zest of 1 medium lemon
  • 4 eggs, preferably free range
  • 1 1/2 cup unsweetened almond milk (or reduced fat cows milk if not intolerant or allergic to dairy)
  • 2 tablespoons coconut oil, plus extra, to grease
  • 1 teaspoon vanilla extract 
  • 3 tablespoons natural maple syrup
  • 1 heaped cup frozen raspberries 

BAKING 

1. Remove the 1 cup of frozen raspberries from the freezer and leave to thaw. 

2. Preheat a fan forced oven to 190 degrees celsius. Line a 'loaf' tin with a diameter around 27cm x 14 cm with baking paper and grease lightly with coconut oil. 

3. Combine the dry ingredients: the flour, baking powder, desiccated coconut and zest of the lemon in a mixing bowl. Stir well to combine. 

4. In a separate mixing bowl, pour in the wet ingredients: lemon juice, eggs, milk, oil, vanilla and maple syrup. Whisk well. 

5. Pour the wet ingredients in the dry ingredients and stir well. Do not worry if the mixture becomes quite thick as the coconut flour will absorb the liquid. Carefully fold in the raspberries. 

6. Spoon the mixture into the prepared baking tin and pat to even out the surface with a wet spatula. Bake for 50 minutes to 1 hour or until the loaf is cooked. (Use the skewer or knife test: at the 50 minute mark, insert a skewer / knife into the middle of the loaf. If the skewer / knife comes out sticky, the loaf needs to continue baking). 

7. Once cooked, remove the tin from the oven and leave to cool completely before cutting into squares. NB: as this loaf is basically only held together by coconut flour and eggs it is very fragile and will crumble easily. 

Total Prep time / 15 minutes 
Total Baking time / 50 minutes to 1 hour 


Sunday, 14 February 2016

MEXICAN SWEET POTATO POCKETS


This recipe was adapted from one I found in the 'Lookbook Cookbook', a very hip cookbook filled with Vegan & Gluten-free meals. This book was surprisingly given to me by my meat-loving husband for my birthday! I've adapted this recipe to include dairy in the form of feta cheese, however if you wanted to keep it lactose-free and / or vegan, substitute the cheese for 1 medium avocado. Remember that whilst avocados are incredibly amazing, they do contain a lot of fat, so you have a bit of a Sophie's choice decision on hand: either avocado or feta cheese! Or perhaps half half! 


INGREDIENTS
  • 2 large sweet potatoes, cut into eight even pieces or 4 medium sweet potato, each cut in half, washed and dried (need around 1.2 kilo of sweet potato)
  • 2-3 tablespoons extra virgin olive oil 
  • 1/4 of a large red onion, finely chopped 
  • 1 x 400g tin of four or five bean mix, drained & rinsed
  • 150g green or red capsicum or a mixture of both, diced
  • 2 spring onions, finely chopped, plus extra to serve 
  • 100g reduced-fat feta, crumbled or finely diced
  • 1/4 - 1 teaspoon dried chilli flakes
  • 1 teaspoon smoked paprika
  • 1 large tomato, diced
  • the juice of 1 lime 

COOKING 

1. Preheat oven to 200 degrees celsius. Line a large baking tray with baking paper. Using a knife poke several holes into each piece of sweet potato (this will speed up the roasting process). Lightly brush the whole of each piece of potato with olive oil. Roast in the oven for 40-45 minutes or until the potato pieces are tender. 

2. Meanwhile, make the potato pocket filling. As the potato takes a while to cook, use this time to cut and prepare all the vegetables. Then combine the onion, beans, capsicum, 1 spring onion, feta,  chilli, paprika, tomato, lime juice and a generous sprinkle of ground black pepper. Stir well to combine and place in the fridge to marinate. NB: if you are using avocado do not add to the sweet potato until the last step. 

3. Once the potatoes are tender, remove from the heat and leave to cool slightly so that you are able to handle them. Leave the oven on if you want to further roast the potatoes; see step 5. 

4. Once cool, scoop out the potato 'flesh', leaving just the skin of the potato. Take the filling out of the fridge and stir the cooked sweet potato in, chopping up the pieces if they are too big. 

5. You could now serve the sweet potato pockets by filling each potato skin with the filling and topping with extra spring onion and avocado, if using. Or if you would like your potato skin crisper, fill each potato skin with the filling and return to the oven for another 15-20 minutes or until the sweet potato skin is crispy. Remove from the oven and top with spring onion and avocado, if using. I've eaten these pockets both ways and I honestly like them both ways; it often comes down to how hungry you are!

Serves / 8 
Total Preparation time / just a few minutes as most of the prep is done during the cooking time. 
Total Cooking time / 1 hour - 1 hour 20 minutes 

x Premium Pilates